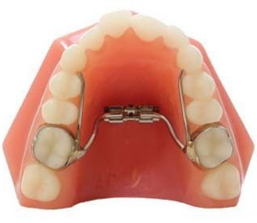
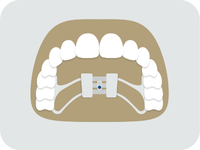
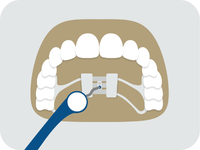
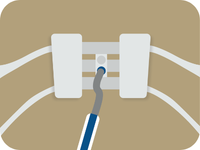
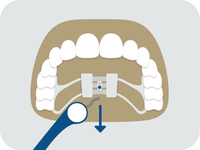
Some patients will feel soreness in the teeth only, while others have described a feeling of pressure/tingling sensation over the bridge of their nose and near their cheekbones.
If you feel discomfort, pain, or dizziness that lasts more than 10 minutes, stop turning the appliance and call the office.
A space may open between the upper front teeth as the appliance widens the jaw. Do not be alarmed as this is an expected change. This space will get smaller as the front teeth come back together after the desired expansion has occurred and/or when brackets or a retainer are placed later.
You may have difficulty speaking or swallowing at first (excess saliva may occur initially as the mouth adjusts to the appliance) but, after a few days, it will improve. Reading aloud or simply speaking frequently helps this transition.
Clean your appliance daily and rinse with water to loosen any food that may become trapped.
Remember to follow the foods to avoid list to avoid breaking or loosening the appliance.
As with all orthodontic appliances, you should avoid hard/crunchy and chewy/sticky foods during treatment. Examples:
- Hard/Crunchy: Ice, kettle cooked chips, raw veggies or fruits (they can be cut into smaller pieces), Takis, hard candy
- Chewy/Sticky: Gum, Skittles, Starburst, Gummy candies, Sour Patch Kids, jelly beans, caramels